Tuesday 25 October 2016

Less Than One Week to Go...


It's less than one week till Halloween and I am just getting started now on the costumes. First up is Chewbacca.

I'll be using fake fur, which advance warning if you ever use this stuff make sure you are ready to deal with the mess! I'm using a modified Peek-A-Boo Pattern Shop "High Five Hoody" for the top and a free PJ pants pattern for the bottom.


A little peak at the mess I'm creating!

I'll post more pictures as soon as I finish up the sash

Monday 5 September 2016

Halloween Costumes! 


I'm a little late for sharing but here are last years costumes


They were quite time consuming but worth it! There was also a Ryder costume made for dad.


This year will be Star Wars themed. I will make sure to share as I make them.


PS- Yes I did finish the 100 item challenge that I posted about a long time ago!


Friday 20 December 2013

100 Item Challenge

I finally organized all my fabric, and now I've realized just how much I actually have..

So starting now, December 20th I am on a fabric diet. That means no new fabric till I sew 100 items with the fabric I already have (custom orders will be the only exception).


This is about half of what I already have...

There is some really great fabric here, I'm excited to see if I can make it to 100 and what I will make :)

Time to get sewing!

Tuesday 17 September 2013

Renovation, Seuss Style


It all started with a second hand bunk bed, a very coloured on bunk bed.
My husband and I agreed that it needed to be painted. I suggested something bright.
And that's when hubs came up with Dr. Seuss

Here are the before pictures
Not very exciting...


And yes I did accidentally build that book shelf backwards. I'm going to use the excuse I was pregnant, or had a newborn... I don't remember, either way there was a baby involved.

Soo many hand prints on the walls! 


So I went to work on the Dr Seuss themed room. There were many late nights and many swear words involved. I'm not exactly what one would call a skilled painter so I may of made a bit of a mess. One night when I was up late painting I guess I got paint all down my leg and I went to family breakfast in shorts the next day and got quite the reaction (the paint looked blood red :P). 

So here are the after pictures: (one million coats of paint later)


 I'm not exactly the best artist, but I'm really happy with how the trees turned out.


The pictures on the wall say:
"Why fit in when you were born to stand out"

"There's no limit to how much you'll know, depending how far beyond zebra you go"

"Today you are you, That is truer than true! There's not one alive that is you-er than you!"

"A persons a person, no matter how small"

I really lucked out and both boys dressers fit perfectly in the closet, so they have extra room to play!


 These last couple pictures show the only sewing I did, the curtain (yes only one... I figure I'll finish the second one in a year or two) and the pillow cases.

 
Love the trees.

So there it is, the Seuss room. The boys love it and I'm happy with how it turned out. There are still a few minor changes I want to make. But it's time to get back to other sewing projects :)


Friday 23 March 2012

Toddler Sized Hiking Pants.

First of all I would like to state this was my first time EVER making pants.. It was a little bit of a learning experience but I think they turned out fairly well. Now I don't know about you but I like tutorials with lots of pictures, so I will include as many as possible about the pants :)

A little bit about the pants:
My husband has been politely reminding me that he would like some hiking pants for our toddler to wear for this upcoming hiking season... Since they are for a little guy they definitely needed to be water proof and warm.

So here goes.

Step 1
Finding the Fabric:
Take your whole family to the fabric store! Ok maybe that was not my smartest idea but at least we made it out in one piece. I used sport fleece for the inside (Regular price $16.00/m but on B1G2) and a water resistant nylon for the outer layer (Regular $10/m but 20% off). I also picked up some 1 inch elastic for the waist (I think it was around $2.99 for a big roll). Now if you need to pick up some thread as well make sure it is polyester, cotton thread will not hold up as well to the weather.


Step 2
Making the Pattern:
First off you need to find a pair of pants that you want to use as a rough outline for your new pants. I used some super comfy sweats that my toddler loved to lounge in. While tracing your pants you also want to take into consideration what seam allowance you want. I went with a 1/4 inch seam. After a lot of research I concluded that you need to trace both the front and back if you want to get a more tailored, less boxy look.


I usually use wax paper or newspaper to make my patterns on, which ever is closest to me at the time :) As you can see the front is a little bit shorter above the crotch and the back sticks out a little more. If you are making these pants for someone in cloth diapers make sure to make the back stick out a little bit extra.


Step 3
Cutting the Pants:

Time to cut out your pants! You want to cut 2 of each. I found it easiest to just fold the fabric in half so you only have to cut out each leg once.   I folded them "right sides" together so then they are basically ready to pin in the next step. I also never pin my pattern down, just apply firm pressure to it and cut slowly :) Here are the cut out pants, the light blue is the outer layer, and the dark blue is the warm fleece

Step 4
Sewing the Crotch

As you can see by the last picture my "Front" and "Back" pieces are still together, so all you need to do is make sure they are right sides together (which ever side looks prettier) and you are ready to start pinning
You want to start by pinning the crotch together. As you can see I went a little pin crazy, that many pins were really not needed but I felt like being safe instead of sorry. If you have a serger you may want to finish your loose edges after you sew them. I don't have one (yet) so I just used a zig-zag stitch on the nylon. If you are working with fleece it's really not necessary since it doesn't fray but these are for a toddler to I wanted to reinforce everything.


Step 5
Sewing the Legs Together

Open the back and front pieces and lay them on top of each other, good sides facing in. Pin along the entire inseam, then sew. Do this for the inside and the outside layer. 

Step 6
Making a Pocket

I was just about to sew the rest of the pants together when I decided that my toddler would certainly want some pockets! I then went hunting through the laundry pile to find my favourite pair of sweat pants to trace the pockets from them. I then traced the pocket outline onto paper, I guess I could of just put it on the wax papter in the first place but I wanted to be able to play around with the size a little bit before tracing it out . I also included about 1/2 inch extra for sewing it onto the pants
Then you want to cut out 4 of them
Then you want to pin them onto the nice side of the outer layer of your pants. Place them ugly side up. Lay the back and front on the pants on top of each other to make sure the two sides line up... Hard to explain so I'll just add a picture :)
Then sew the pocket into place, the red line shows you where to sew. Do this on all 4 parts.
You will finish the rest of the pocket while sewing the outer seam of the pants shut.


Step 7
The Outer Seam

Lay the pants open and pin the back and the front together along the outer seam. For the inner pants this will just be a straight line. For the outer layer you will need to flip the pocket pieces inside out, then sew where I drew the red line. You can also see in the picture I placed the pins on the pants the opposite way you normally would, since these will be used in the rain a lot I was trying to put as few pin holes as possible


Step 8
Putting the Pairs Together

Now it's time to sew the two pairs together! Put the inner layer inside, you want the two ugly sides to be against each other. I found it was easiest to start pinning at the waist. Once the waist is pinned just give the pants a good shake, you want to make sure the inside layer is going to lay flat. I then sewed the two waist pieces together.
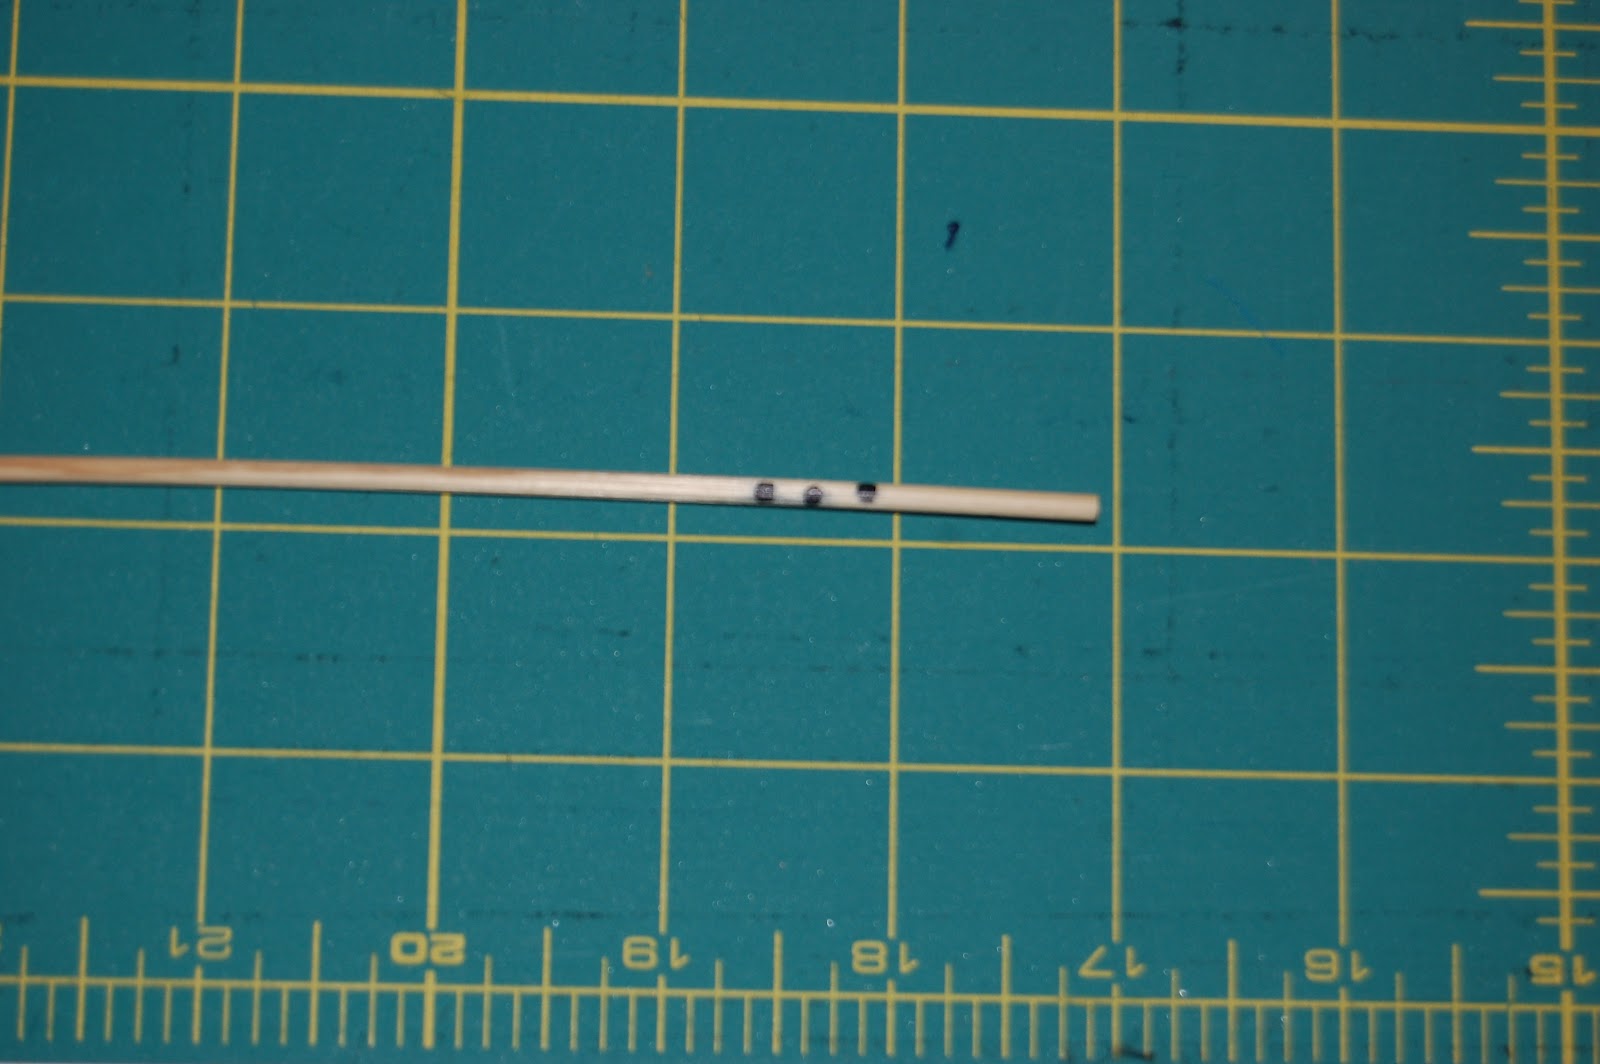
Next is sewing the casting to make the elastic waist. I used 1 inch elastic so made the casting 1 1/2". To make sure it was even all the way around I used a wooden skewer with a mark on it, it's the first thing that came to mind to use :) Just pin in place and then sew around leaving a one inch gap to put the elastic in.
Next pin the pant hems together the same way you did the waist
Here's what they look like before being hemmed


Step 9
The Elastic and Hem

To put the elastic in you will need two safety pins. Pin one side of the elastic to the opening on the pants, then use the other pin to help you feed the elastic through. I then just tied the elastic in a knot so I could test the size on my toddler. Once you have it adjusted to the right size sew the elastics together and snip off the extra. I chose not to snip off the extra elastic or close the 1 inch opening so I could go back and adjust the pants if necessary
While the pants are on your toddler you may want to check how high you need to hem the pants. I folded them partially inside out and then folded them hem down, found it was easier this way.
 

Step 10
Enjoy The Pants!


I'm really happy with how the pants turned out! They have already been tested on several outings and seem to be a hit!


Step 11
Clean Up!

I've never been a fan of this step, but oh well :P


ENJOY!


Wednesday 8 February 2012

Crochet Oreo Cookies. Yum

Here is a recent craft I quickly whipped up. They are super easy and take no time at all. 


This is the pattern that I followed: http://www.thriftyfun.com/tf34890489.tip.html. They are so much fun to make you will find yourself wanting to make more! Though I have already gotten several funny looks from kids who try to eat them :) I will post more pictures of a step by step process when I make the next batch.

Friday 11 November 2011

Homemade Goats Milk Laundry Soap!

A simple and very cheep way to make your own laundry soap!
I use to buy my laundry soap from a friend, but then one day decided to try making my own and discovered how easy it really is. This recipe is for a 20L batch

What you need:
  • Borax
  • Washing Soda (Different from baking soda)
  • A Bar of Soap
  • Large container to store detergent
Borax and Washing soda can both be found in the detergent isle at most grocery stores. You can use any bar of soap, I chose Caprina Original (http://www.caprina.com/canada/en/products/caprina/viewbyformula/original/original_soap.html). I really like goats milk soap and this one has a very mild scent that just leaves your clothes smelling clean. It is a little more pricey, I paid 5$ for 3 bars. However they do sell it in bulk at Costco and I'm sure it would be cheaper to buy it that way. For the large tub I used a tub that is used to make beer, they are more durable and have nice measurements along the side. It will run you about $15.00 for a 30L tub at any brewery store. You can also add a fragrant oil to your soap but they have been known to stain clothes so I just bought a nice smelling soap instead.

Step 1: 
Grate your entire bar of soap, then add 4 cups of hot water to it


Step 2:
Heat 4 cup mixture in a pot over medium heat until all the soap is melted. Stir occasionally

Step 3:
While the soap is melting grab your Borax, Washing soda, and large tub
You want to put about 10L of hot tap water into the tub, then mix in 1/2 cup of Borax and 1 cup of Washing soda. Then mix it really well, scraping the bottom to make sure everything is dissolved.

Step 4:
Once the soap is all melted and the powders are mixed together pour the hot soap into the tub. Mix it again then add 9L of water. If you have a tub with measurements on the side like I do this step is really easy since you don't really need to measure :) 


Step 5:

Once again stir the mixture :) Word of advice though, don't let your toddler try to help. He will drop the spoon into the mixture and then you get to spend the next few minutes trying to get it out without sticking your hand in the hot soapy mixture. Yay :) Now put the lid on it and let it sit over night.

Step 6: 
Sit, relax, maybe watch a movie while the kids are finally in bed, and let the soap do its thing...

Step 7:
Now the soap is going to be all chunky and look really funny the next morning. Just stir it really well and it will look all good. If you want really smooth soap like you would get at the store you can always stir it with an immersion blender, or stick a beater in your hubby's power drill :) To store mine I use a juice jug to make it really easy to pour, just stir the mixture before you divide it up.

Step 8:
Wash laundry (yay?). The mixture may of separated in the jug so just give it a good shake. I have a top loader so I add 1/2 a cup to each load. 

Enjoy :)